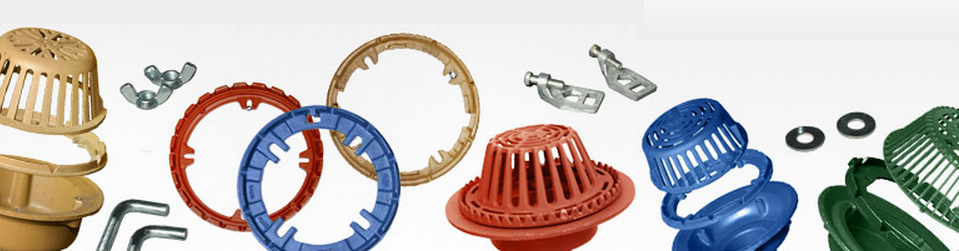
Search our inventory of drains, drain parts, safety and roofing equipment, and accessories. Shop Now.
Search our inventory of drains, drain parts, safety and roofing equipment, and accessories. Shop Now.
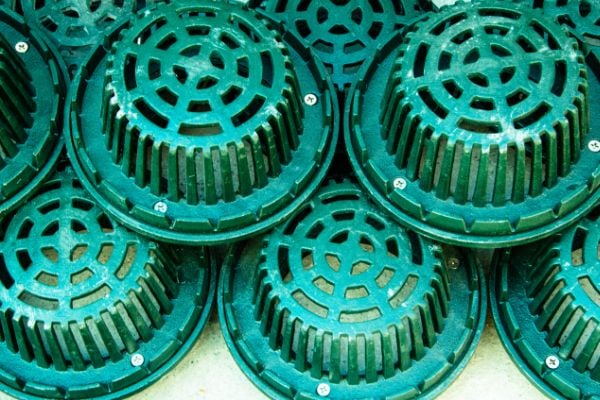
As an industry professional, you need the right resources to help make your roof drain decisions. Browse our resource library below for expert knowledge on roof drain specs, parts, accessories, and more.
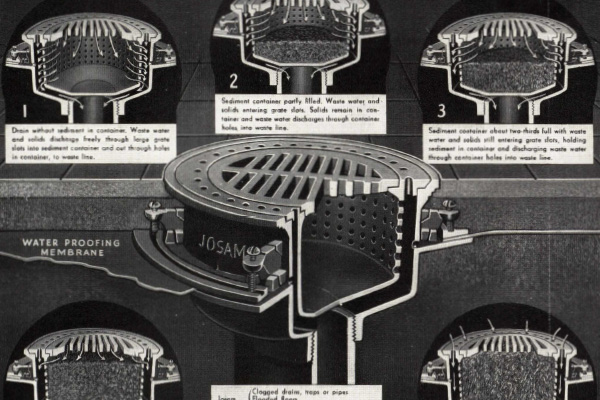
The Drain Library features a collection of articles, catalogs, and patents from well-known drain manufacturers across the U.S.
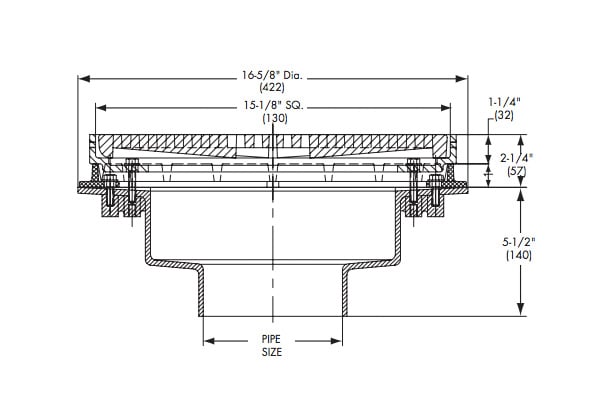
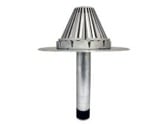
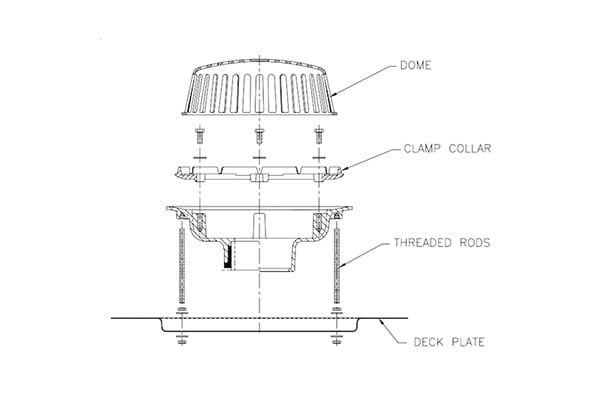
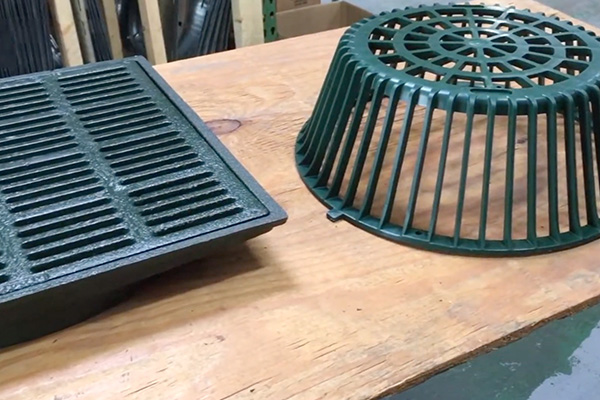
If you’re in need of roof drain specifications, take a look at these diagrams and dimensions from several top roof drain manufacturers.

Looking for a specific roof drain? Let the Drain Wizard help you find an option that matches your unique needs and price point.